|
Tools for installation
1. Professional cutting saw
2. Laser leveling apparatus and net laser scanner
3. Bubble leveling apparatus, band tape and ink recorder.
4. Panel-lifter, spanner and screw-drivers
5. Dust cleaner, broom and cloth
Installation Step:
STEP 1. Check the room dimensions and configuration against approved drawings. Using a builder's transit or laser, shoot in the areas to receive access floor to determine how much variation there is in the level of the subfloor within the room and at the termination points, such as elevator and door sills and concrete ledges. If the floor cannot be installedyou¡¯re your drawings, notify the general contractor superintendent for agreement on corrective action.The FFH may have to be changed.
STEP 2. First mark the installation height of the panel on the wall to ensure the flatness of the panels. Then measure the length and width of the ground and find the basic position of installation. And then form a square lattice with pedestals and the conjuncture of the square lattice is the position of the pedestal base. The cutting of the panels should be minimized to ensure the wonderful appearance after installation. Recommended minimum size of the cut panels for proper support is 6 inches wide.
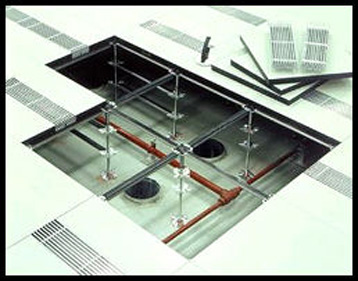
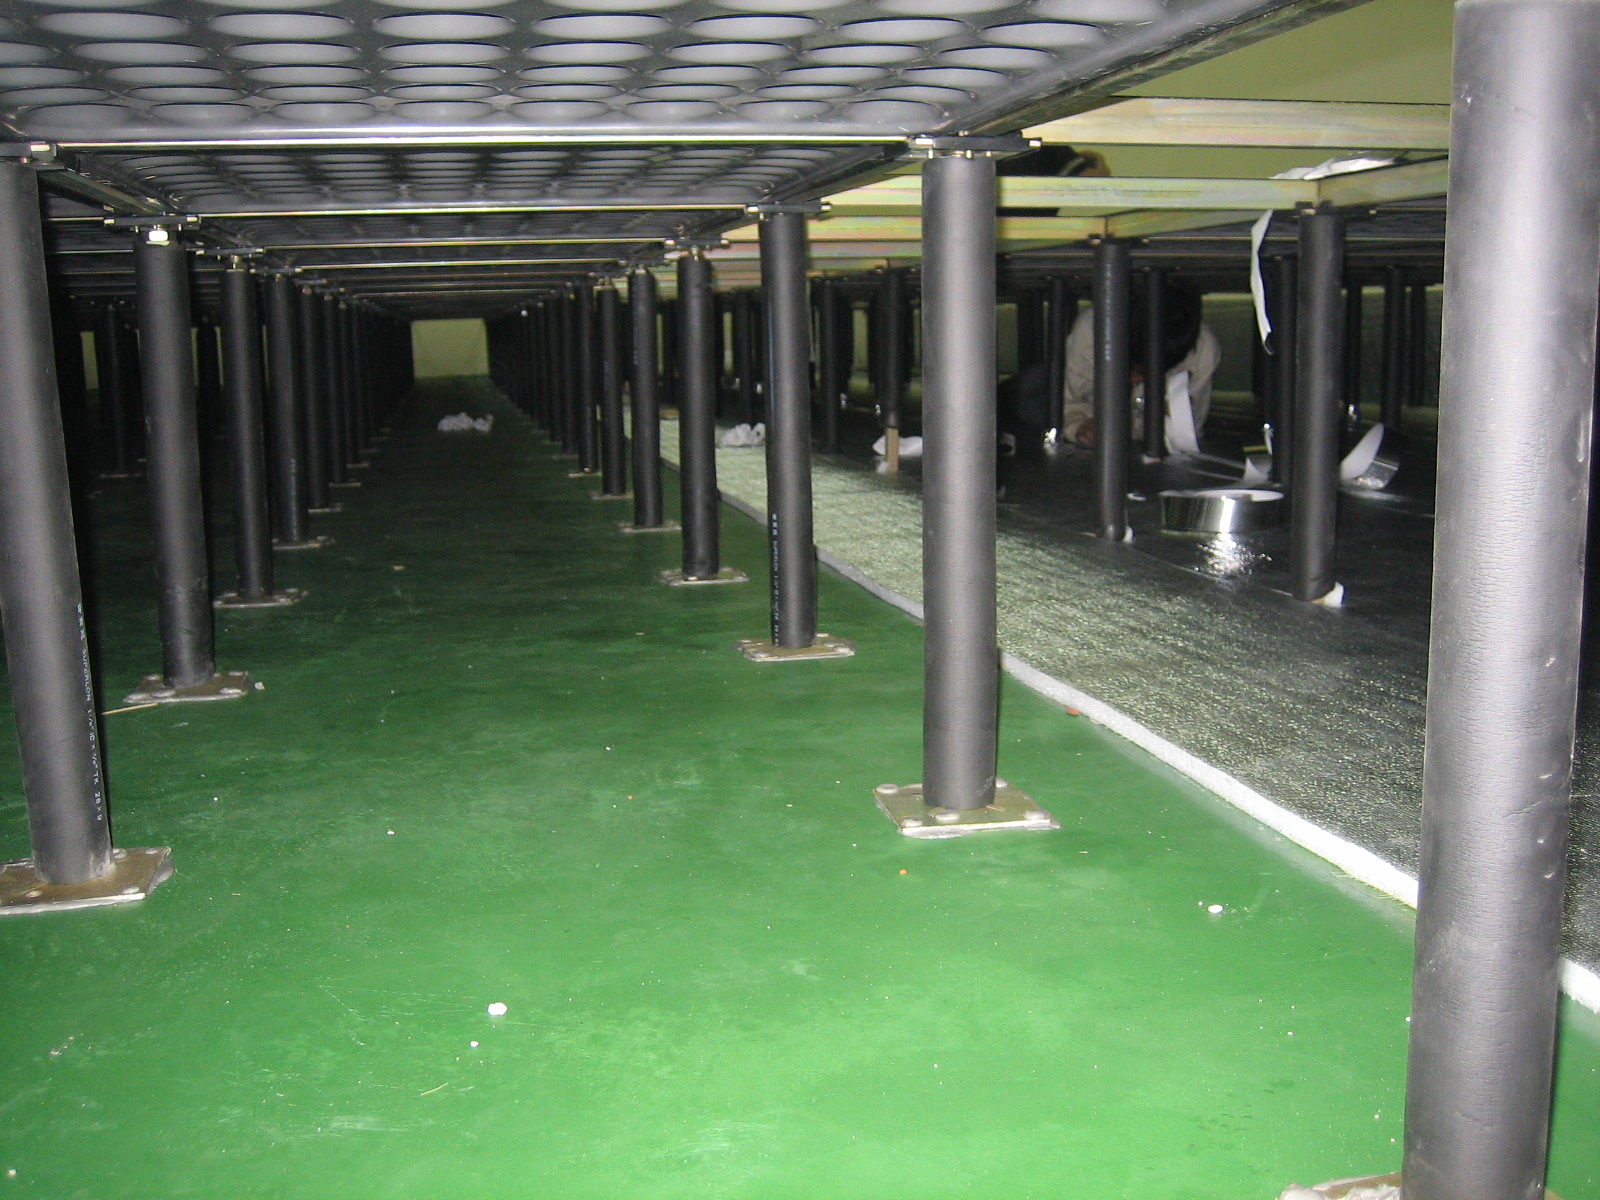
STEP 3. Put the pedestals and stringers in the conjunctures of the square lattice, and adjust the height of the pedestals, finally set the panel in the lattice formed by the pedestals and stringers.
STEP 4. If the remaining size close to the wall is smaller than the size of a panel, cutting becomes necessary. The cut edge must be smoothed in case workers get hurt while dealing with it.
STEP 5. While laying the panel, bubble leveling apparatus can be used to make sure of the surface flatness. The height of the panels can be adjusted through pedestal adjustment. While laying the panel, it should be handled with care to avoid the damage of the panels or rubber edges. Meanwhile, cleaning should be conducted while laying in case the dust and odds should be left under the panels.
STEP 6. If a panel rocks diagonally when placed in the system, turn it one quarter (90¡ã) turn and check it again. If the panel continues to rock when rotated, some debris may be between the panel bottom and the pedestal head or stringer. Also check to make sure pedestal is not tilted, stringers are properly seated and that panel edges are flush. If the panel still rocks, set it aside to be used as perimeter cut panel. The pedestals should not be adjusted unless three or four panels supported on it are rocking. At this point, make a minor elevation adjustment to the pedestal. When installing carpeted panels, the carpet grain direction must be controlled. Each panel has an arrow on the bottom indicating proper carpet grain. All panels must be installed with the grain in the same direction. Therefore, they cannot be turned to adjust for rockers. The panel can be bumped or the pedestal assemblies adjusted.It may require two or three pedestals in a row to be adjusted.
STEP 7. If heavy equipment are to put, the panels used for bearing the heavy equipment should be strengthened with dense pedestals. If rolling materials, equipment or gang boxes across installed A/F, then 1/4-inch tempered masonite or 1/2-inch plywood should be used as pathways to avoid any damage to the top surface of the access floor panels.
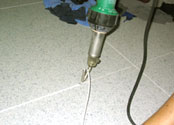
STEP 8. While cutting HPL, 6-8 anti-crack holes should be made at its concave opening to prevent the crack of HPL.
Inspection standard for the panel laying
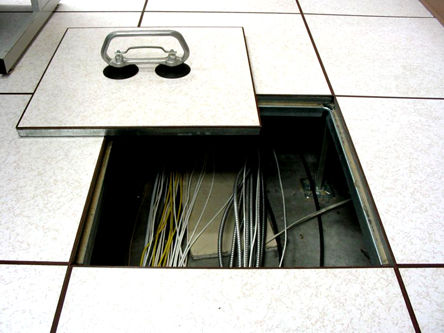
1. The ground under the raised panels and the surface of the panels should be clean and dust-free.
2. Panel surface should have no scratches, no coating drop-out and no damage of the rubber edges.
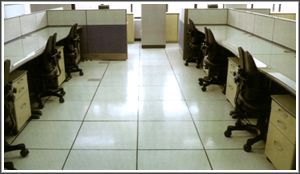
3. The panels, after being finished, should be stable and firm. People walking on them should not feel shaking and no unpleasant noise between the rub of the edges can be heard.
4. The edges of the panels should be in the same level and the height between two adjacent panels should be less than 1mm, 2.5mm in an length of 6 metres and 5mm in the whole.
5. Panels should be naturally and closely jointed with a space of less than 1mm between two adjacent panels.
If the ventilation panel with the damper is placed, the damper should be able to be adjusted easily.
|